
Ready to use this tool now?
Execute operations 100% locally in your browser with zero file uploads and instant results.
Step-by-Step Operational Instructions
Follow the verified workflow below to operate the QuickRectify Complete Step-by-Step Guide: Compressing PDF Files Without Quality Loss engine with complete precision and security.
Upload the Heavy PDF File
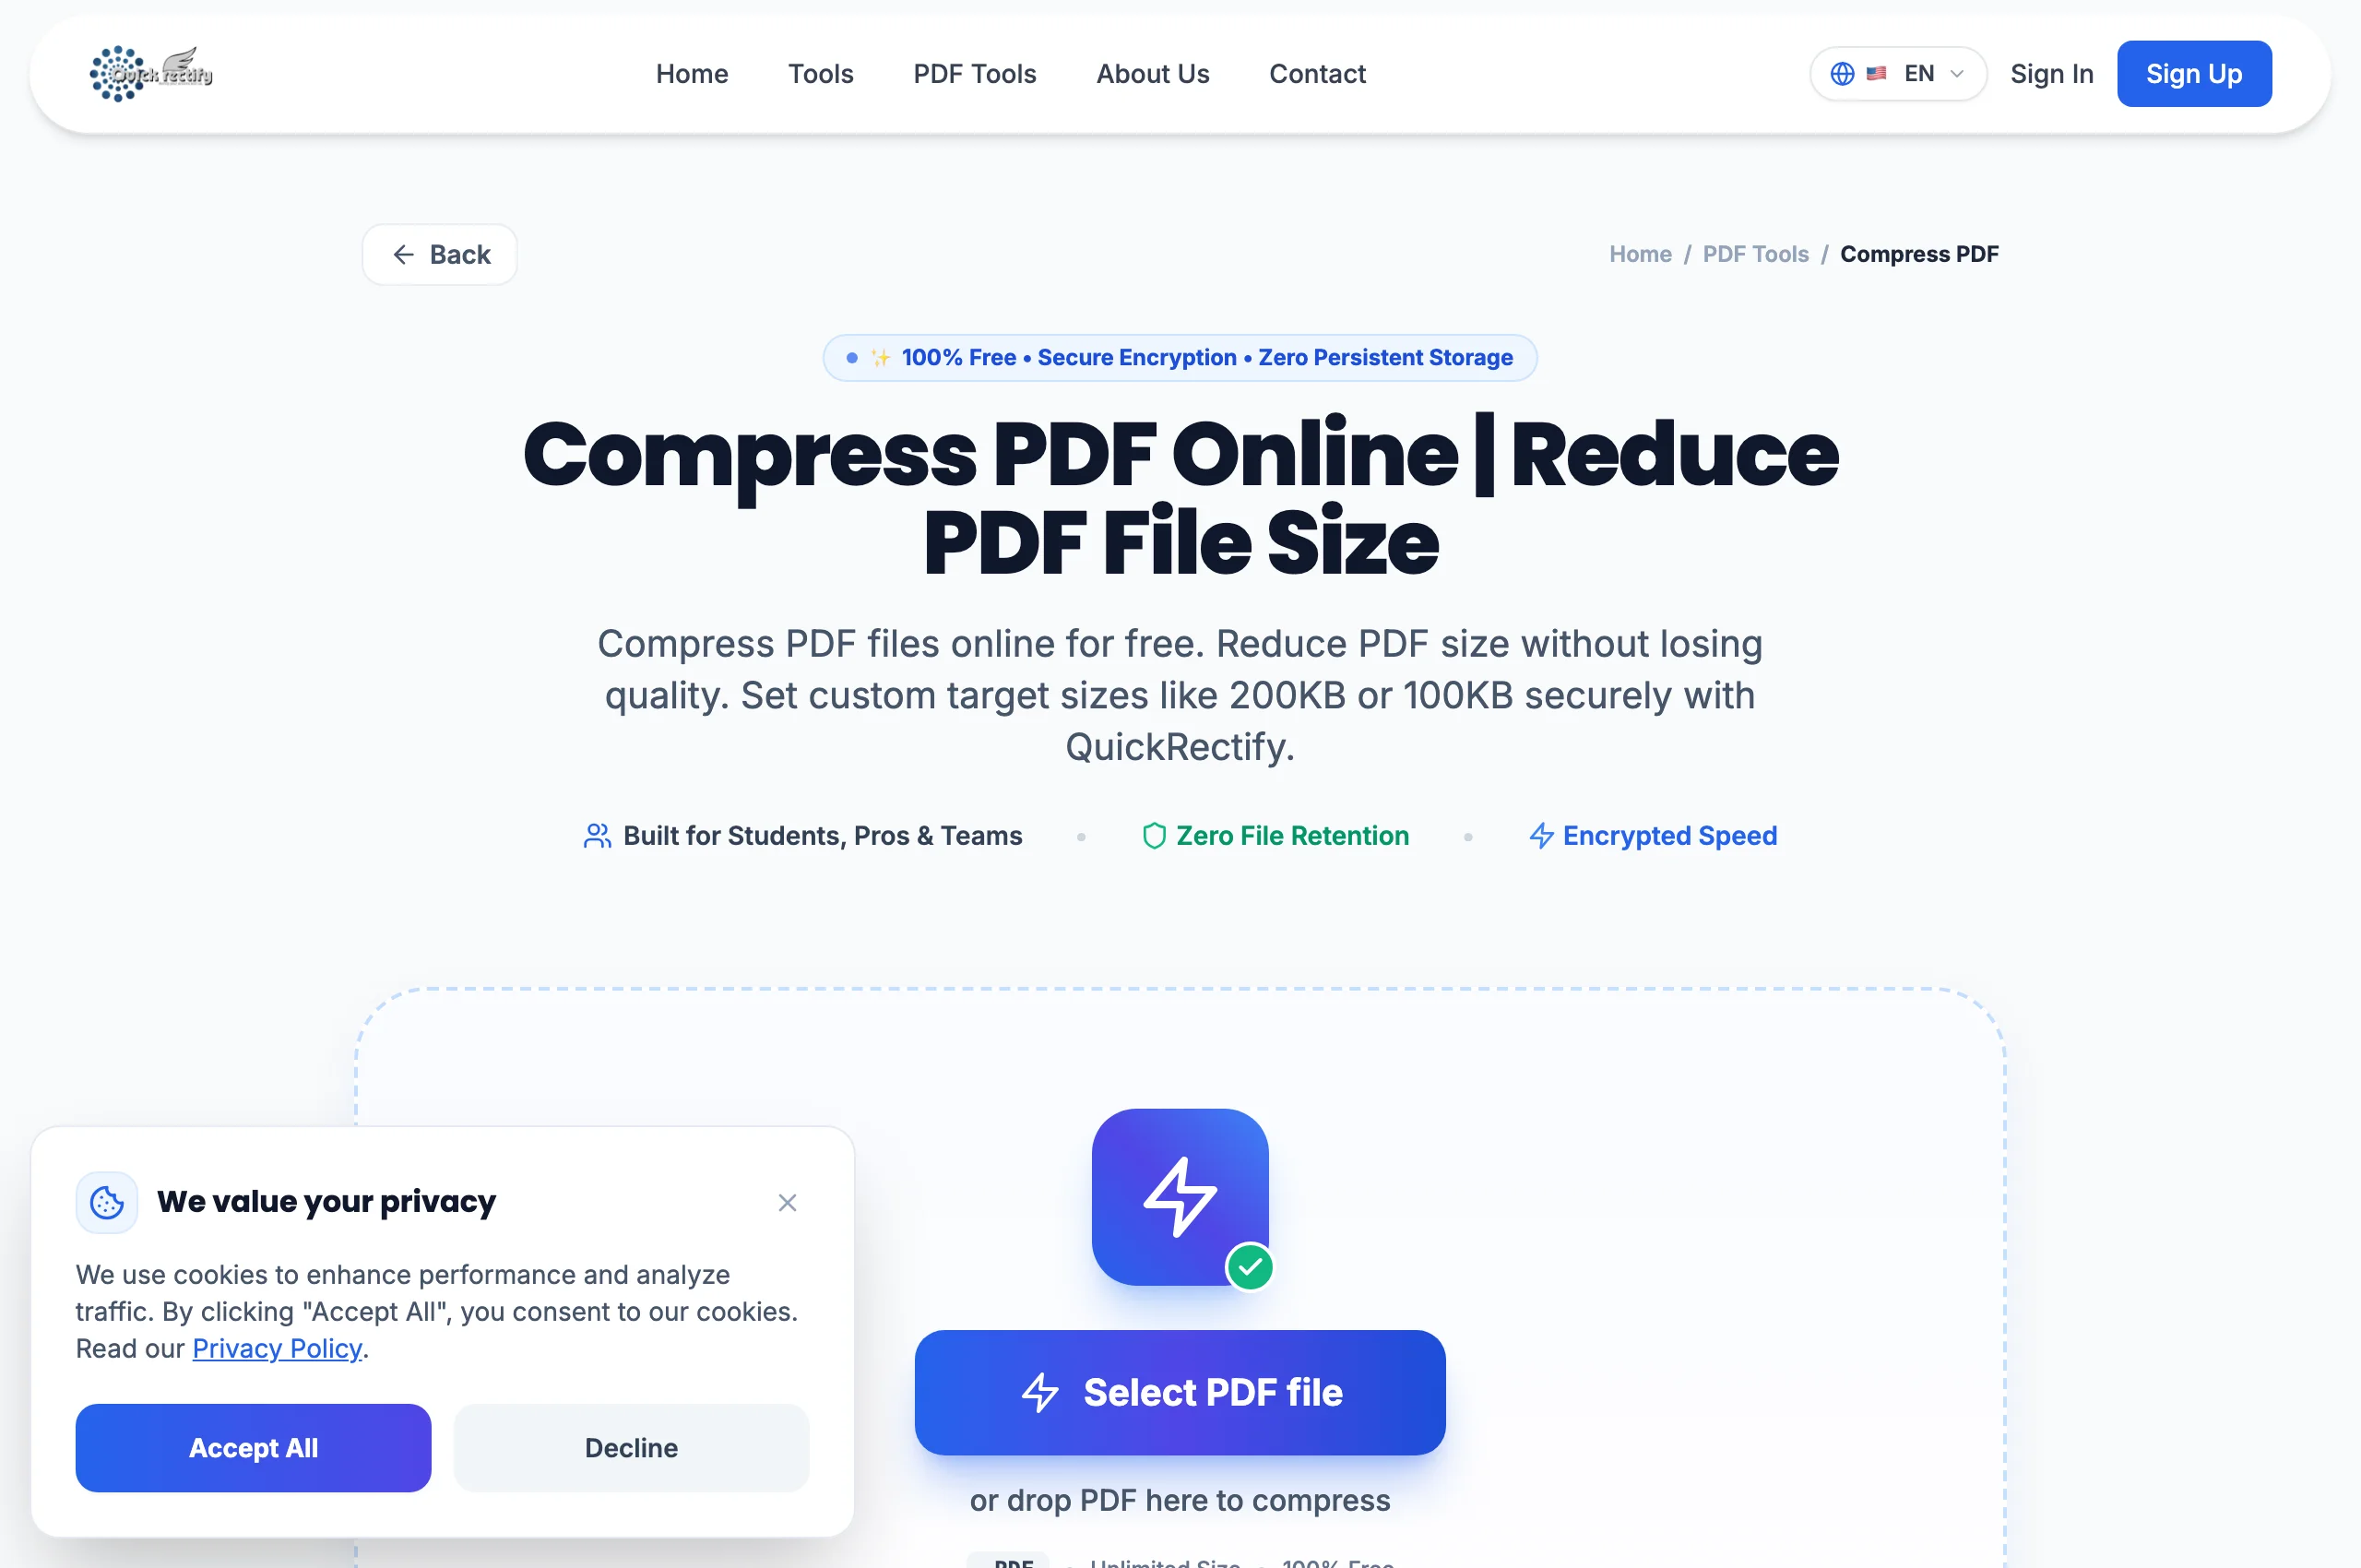
Open the QuickRectify Compress PDF tool. Drag your oversized PDF into the upload area or click "Select PDF files". The tool displays the document size and confirms immediate local readiness.
Select Your Compression Profile
QuickRectify provides tailored presets: "Recommended Compression" (preserves 150-200 DPI imagery with high text sharpness) or "Extreme Compression" (maximizes byte savings for strict limits). Select your preferred option.
Process In-Browser and Download Optimized PDF
Click "Compress PDF". The WebAssembly engine recompresses raster objects using optimized Flate/Deflate algorithms. Within seconds, a reduction summary badge displays your original size, new size, and exact percentage saved, along with the instant download button.
Troubleshooting Common Operational Issues
• Why did my file only compress by 5% to 10%?
The PDF has already been heavily compressed or contains pre-optimized WebP/JPEG streams. Text-only documents with no embedded high-res photos naturally have fewer discardable bytes.
• The compressed PDF looks blurry on zoom.
If you selected Extreme Compression, images were downsampled to 72 DPI. Re-run the tool using the "Recommended Compression" preset to maintain 150+ DPI sharpness.
Security & Client-Side Sandbox Guarantee
File compression runs 100% client-side via JavaScript & WebAssembly. QuickRectify has no server-side ingestion endpoint, guaranteeing absolute confidentiality.